Custom Domains
Digger supports two ways of integrating with custom domains. The first way is a fully automatic domains integration. It works only if your domain is already registered on Route53.
The second method is to be used if your domain is not registered on Route53.
With Route 53
The example below will assign mydomain.usedigger.io to the infrastructure provisioned by cli-backend
Without Route 53
If you have a domain registered outside of route53, you can follow these steps to integrate with Amazon Certificate Manager.
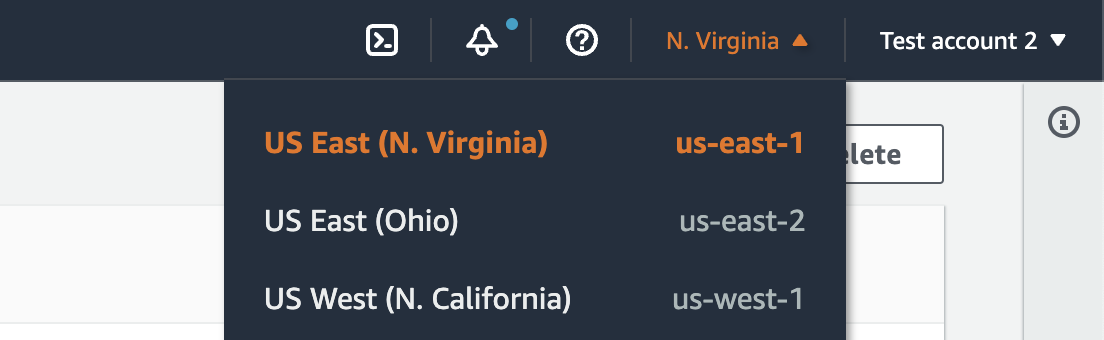
Ensure you are in the same region as your digger app (example us-east-1 if your app is in us-east-1)
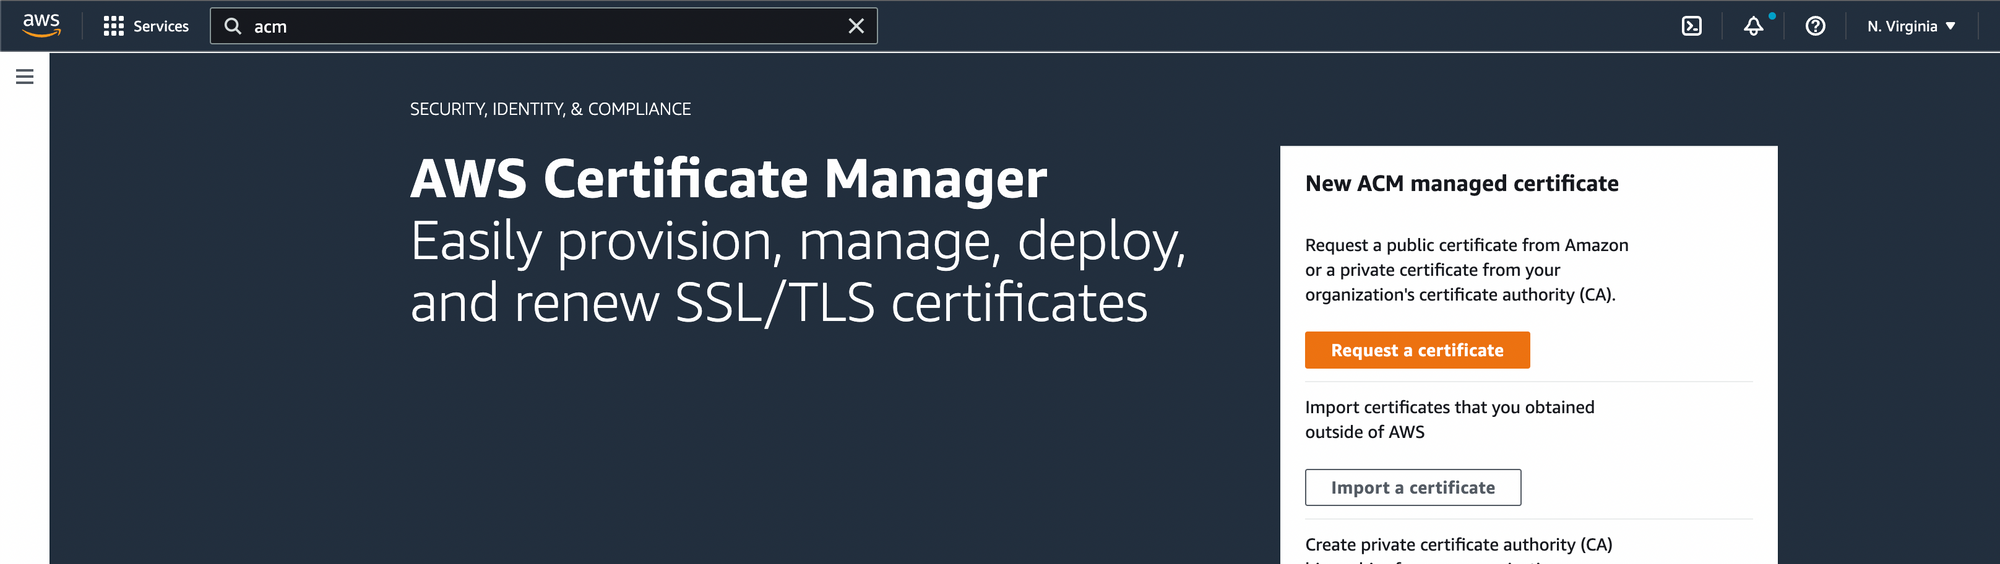
Go to ACM section
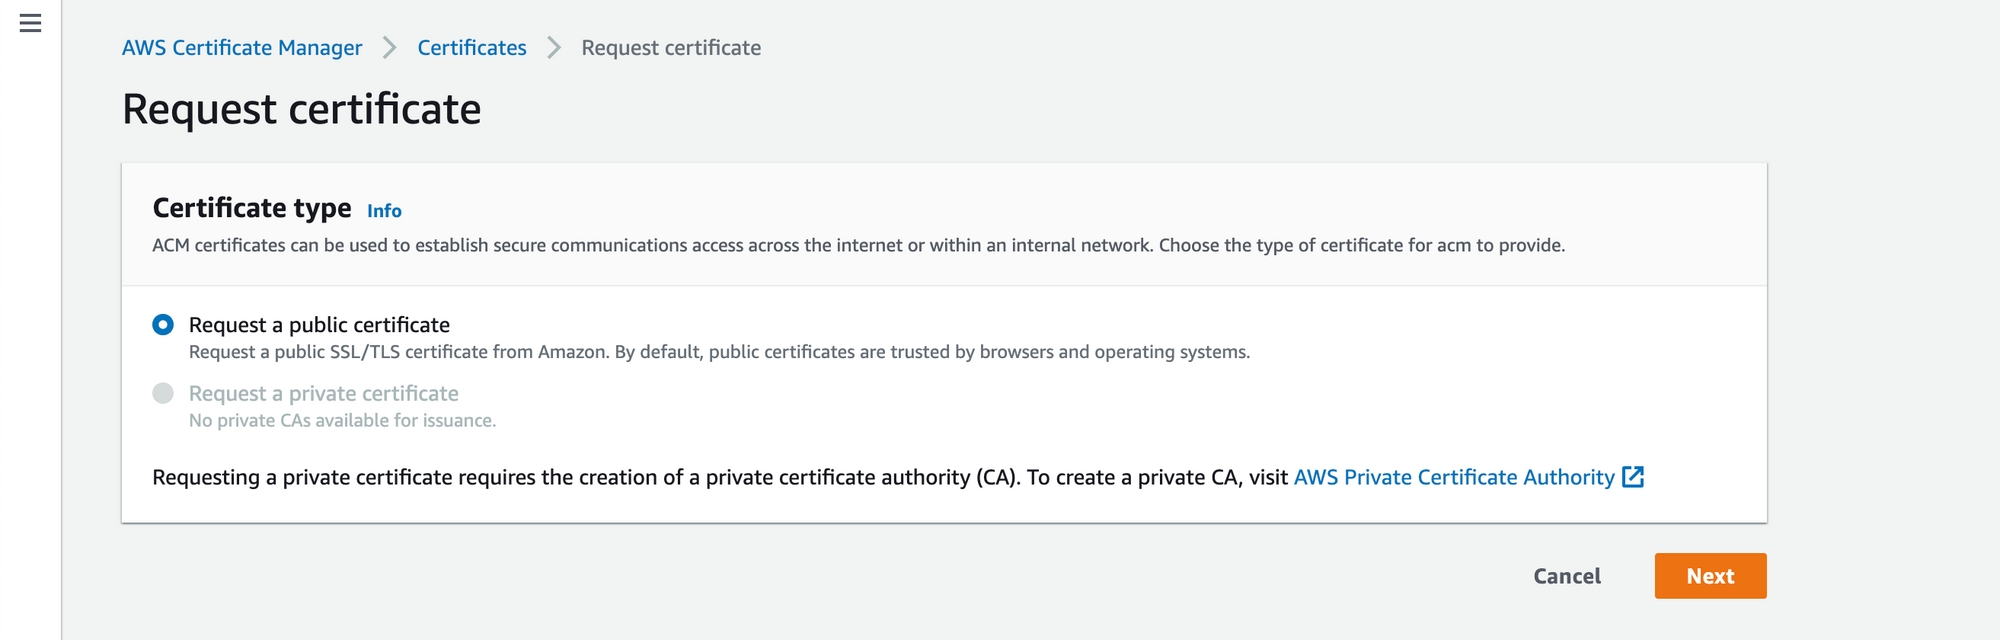
click on Request a certificate
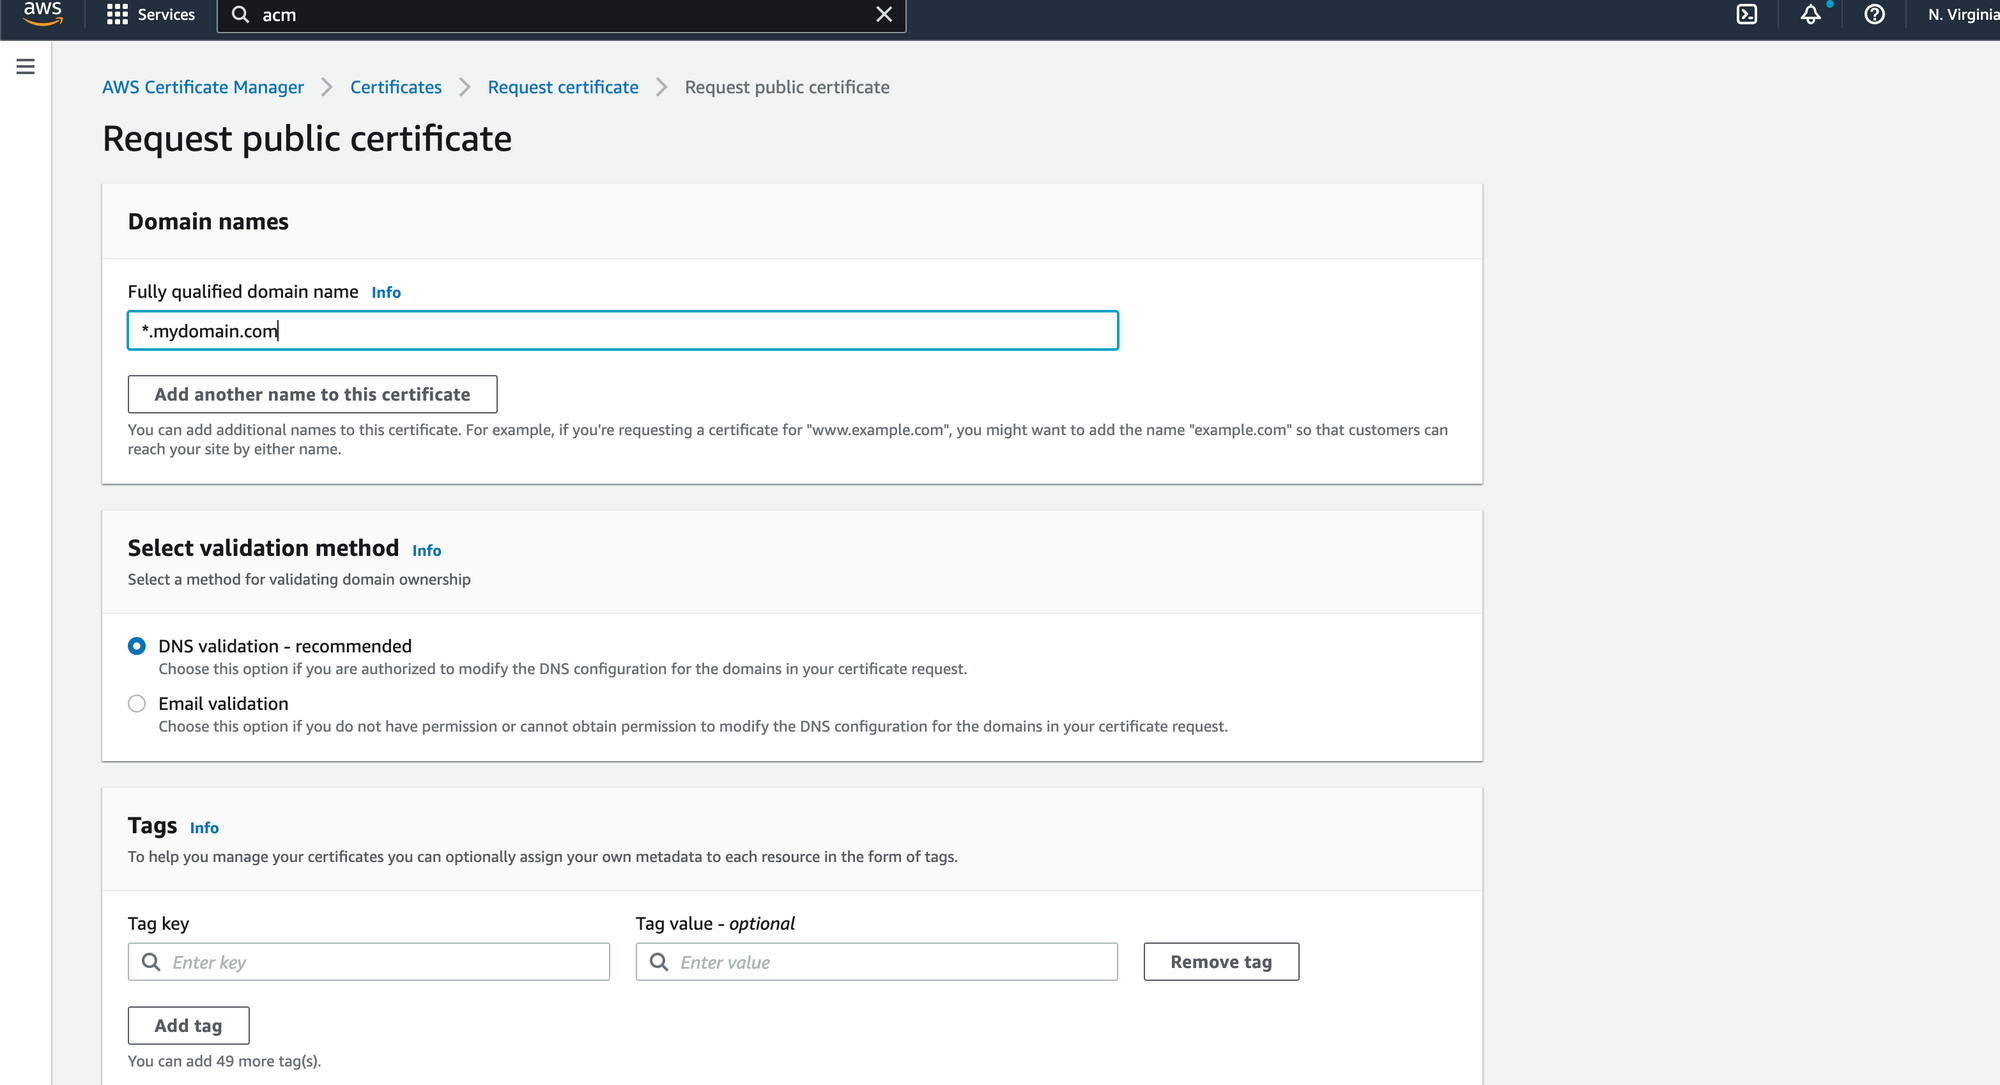
click Next and enter your domain name. If your domain is called [myexample.com](<http://myexample.com>) and you want something like [app.myexample.com](<http://app.myexample.com>) you can use either *.myexample.com or app.myexample.com depending on your preference
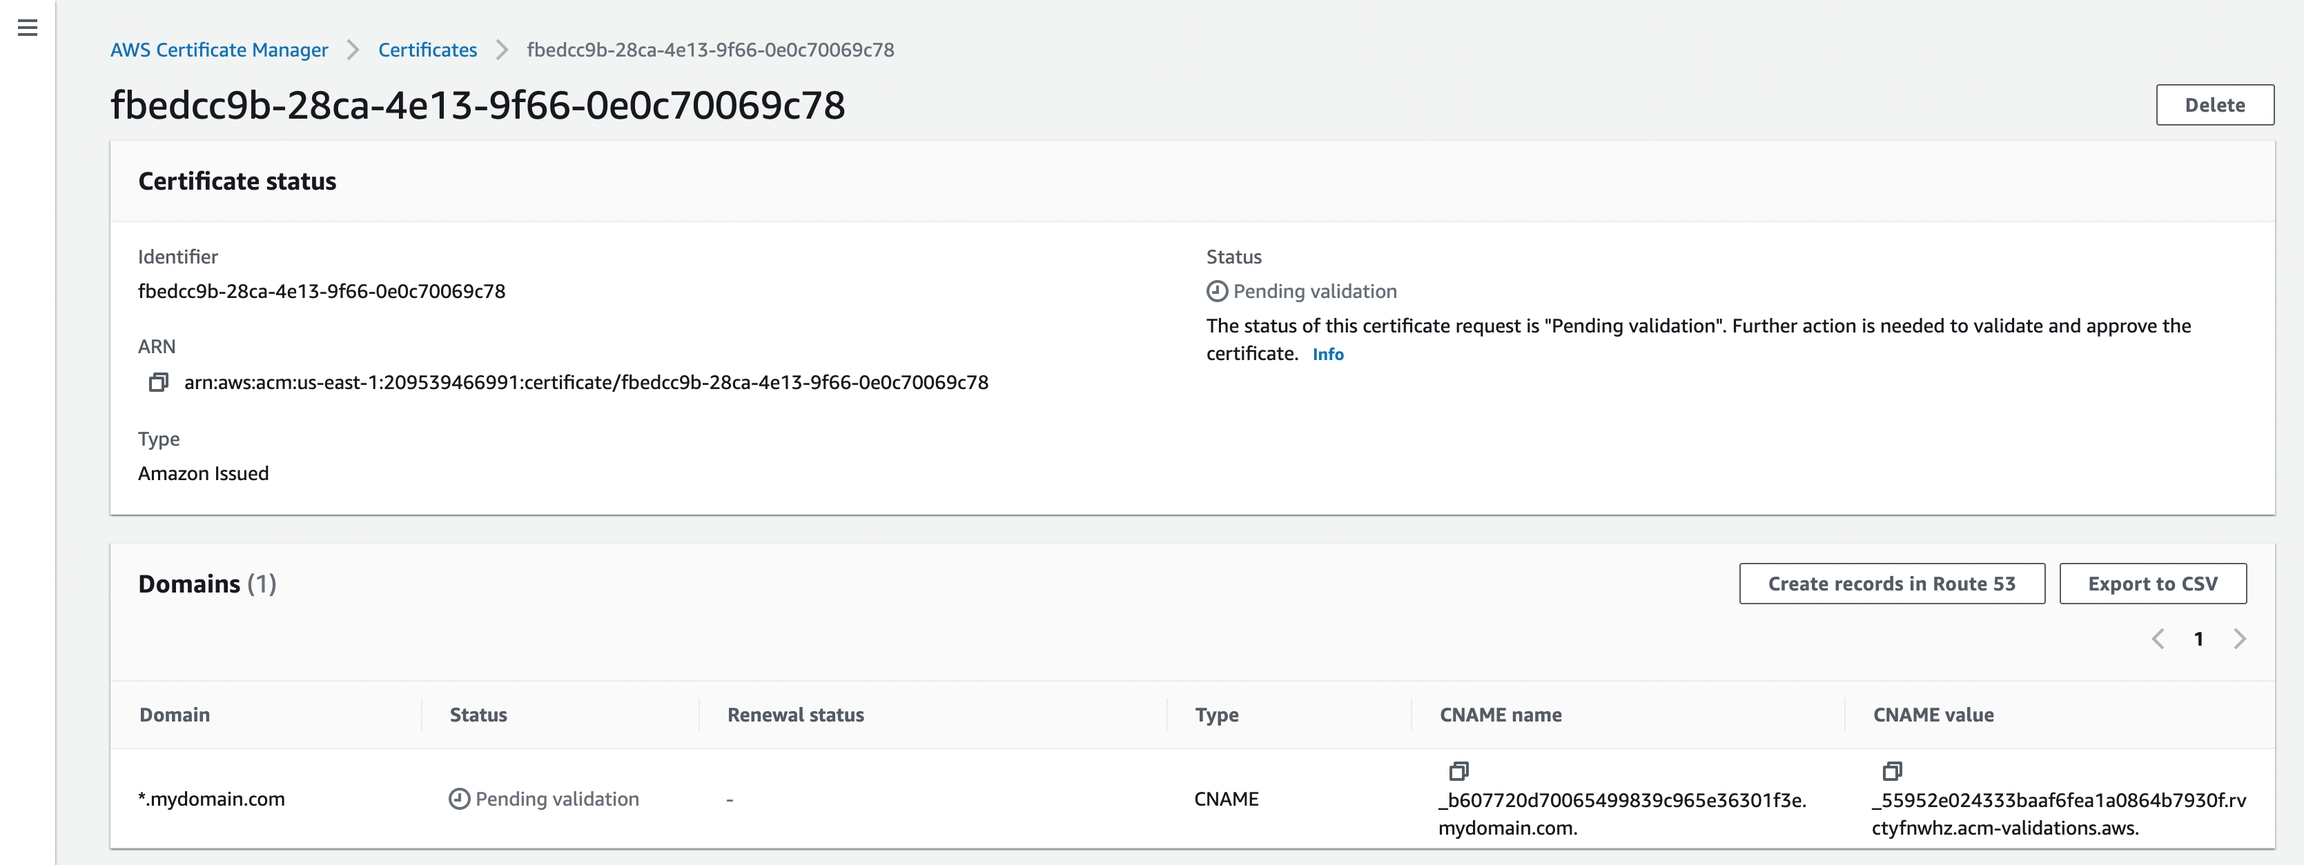
you will see that the certificate record is created with a status of “pending validation”
after you click into the certificate you can see that it asks you to validate your domain by copying the records into your domain. You can do so by copying the records over to your domain provider
Perform the validation and also take note of the ARN value for this ACM certificate. It will be needed in the next steps.
Now you can update your dgctl.json to the following:
Finally run dgctl provision! After the command is done your will see your loadbalancer URL. The final step is to wire your domain to that URL. For examply myapp.myexample.com -> LB_URL . Wait for DNS propagation and then you are done!
Last updated